LinkPoint TimeScout gives users configuration control over how meetings are booked with custom Meeting Types. Meeting Types include presets specific to common interactions users have with prospects and clients. Users can establish settings for event duration, pre and post prep time, and booking questions. The Meeting Type URLs can be shared directly with external users or added to outbound emails via the LinkPoint Connect Side Panel.

Example: In this example, we will demonstrate how to create a new Meeting Type. The process and available options are the same for editing an existing Meeting Type.

Tip: TimeScout starts users with three built-in Meeting Types: 15 Minute Meeting, 30 Minute Meeting, and 60 Minute Meeting. Each of these can be updated, overwritten, or disabled as needed.

Click the images throughout the Knowledge Base to see full size versions of screen captures.
Manage TimeScout Meeting Types

Click the TimeScout icon in the top left section of the Side Panel, and click the Open TimeScout Website menu option. This will launch your default web browser.

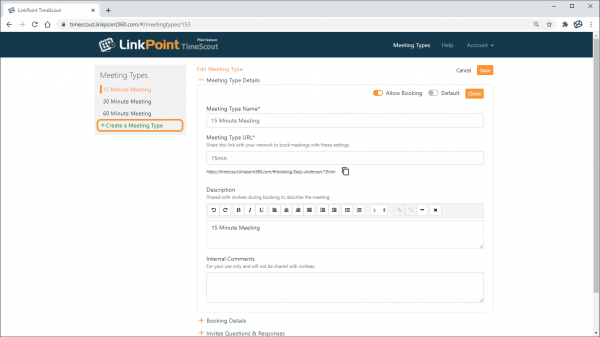
Select the Create a Meeting Type option from the Meeting Types list.

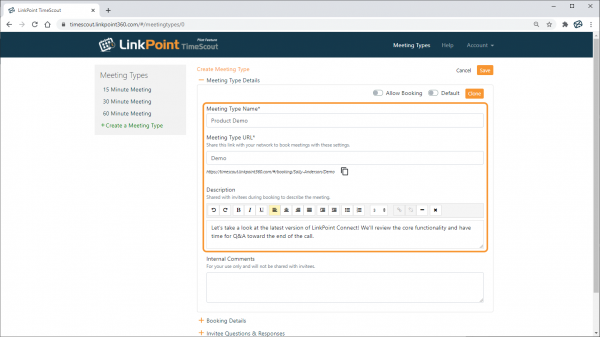
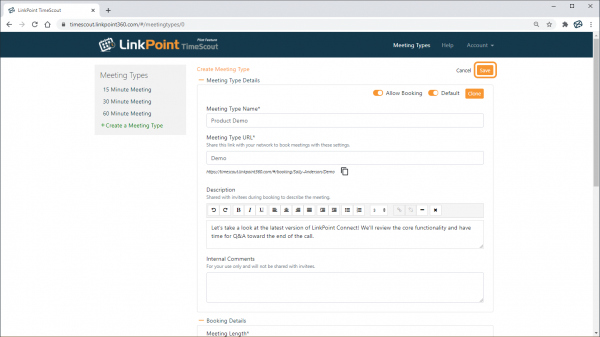
Enter the values as needed for the Meeting Type Details section. This includes a unique Meeting Type Name, Meeting Type URL, and Description. Remember that these details will be public.

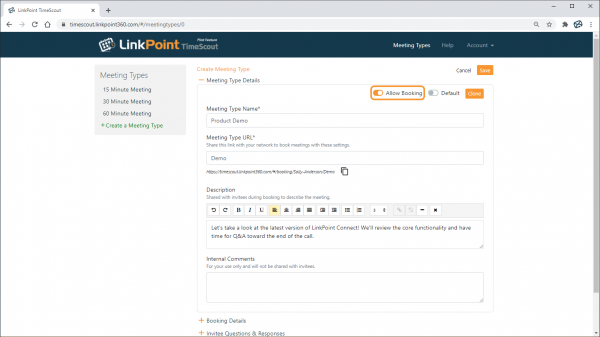
Select the Allow Booking option to make the Meeting Type available in the LinkPoint Connect Side Panel and for external users to access. Deselect the option to disable the Meeting Type.

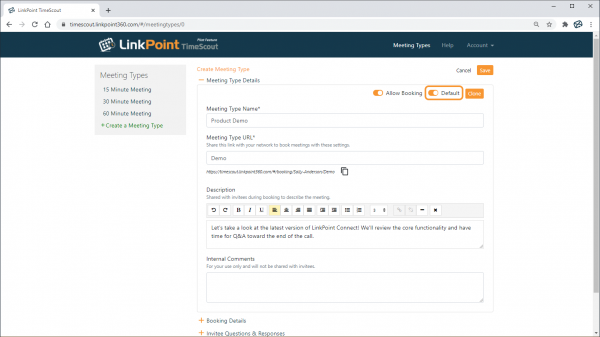
Select the Default option to set the current Meeting Type as needed.

Tip: Users will be redirected to your Default Meeting Type if you share your main TimeScout URL, disable a meeting type, or provide a URL that is no longer valid.

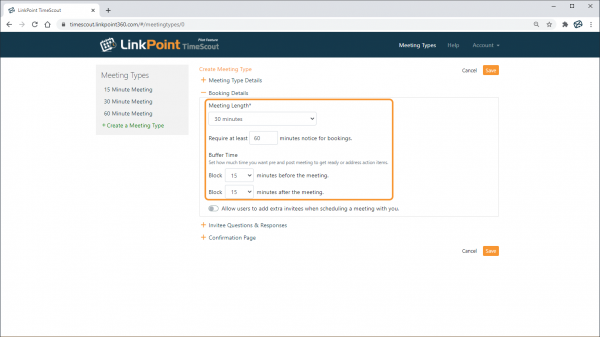
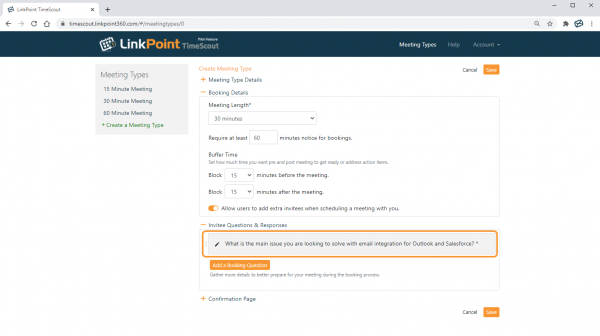
Enter the values as needed for the Booking Details section. This includes the Meeting Length, required advance notice, and Buffer Time before and after meetings for the Meeting Type.

Tip: The Buffer Time options can help prevent separate external contacts from filling in your calendar with back-to-back or last-minute meetings.

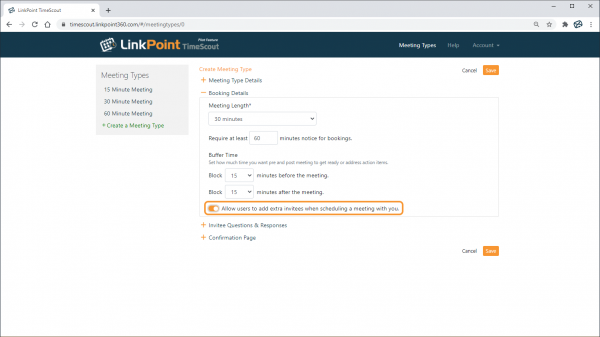
Enable or disable the option to Allow users to add extra invitees when scheduling a meeting with you. This will include a field to include extra email addresses during the booking process to invite multiple people.

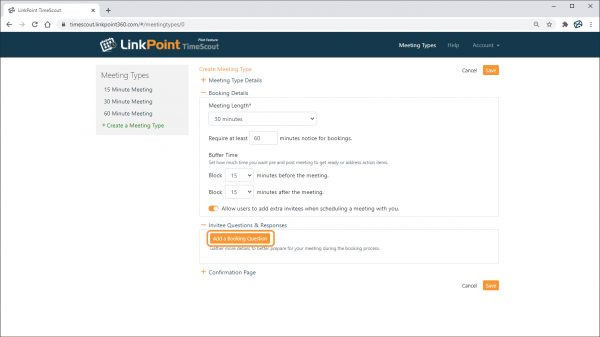
Click the Add a Booking Question button in the Invitee Questions & Responses section to include screening questions during the booking process.

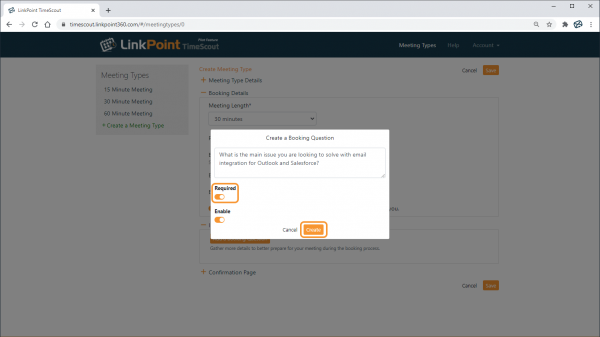
Enter the Booking Question text, and select whether the Booking Question should be Required during the booking process. Click Create to confirm.

Tip: You can edit, enable, disable, or delete a Booking Question by clicking the question name on the Meeting Type page.

Tip: You can add multiple Booking Questions by repeating the process to Add a Booking Question. The maximum number of Booking Questions allowed per Meeting Type is 10.

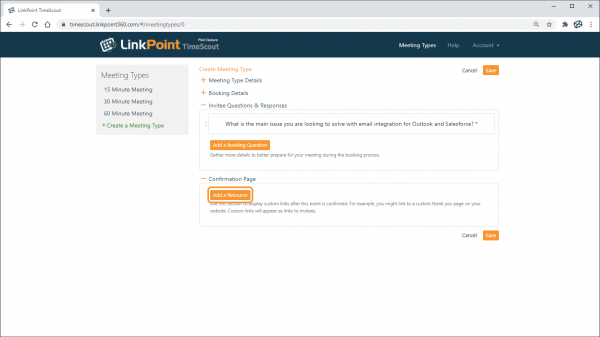
Click the Add a Resource button in the booking Confirmation Page section to provide attendees with relevant links and content prior to your meeting.

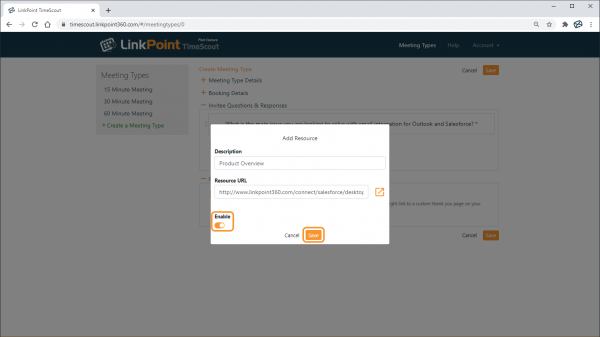
Enter the Description and Resource URL. Select whether the Resource should be enabled and shown on the Confirmation Page. Click Save to confirm.

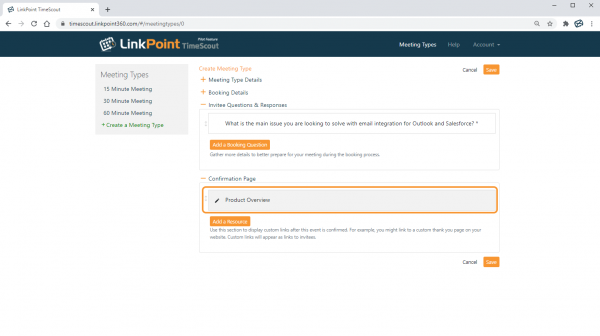
Tip: You can edit, enable, disable, or delete a Resource by clicking the Resource name on the Meeting Type page.

Tip: You can add multiple Resources by repeating the process to Add a Resource. The maximum number of Resources allowed per Meeting Type is 5.

Click Save to confirm the Meeting Type details.

Tip: Changes to Meeting Types are made as soon as you click Save. You may need to refresh your Meeting Type list in the LinkPoint Connect Side Panel to see your changes. If you change the Meeting Type URL, the old URL will no longer work if previously distributed.

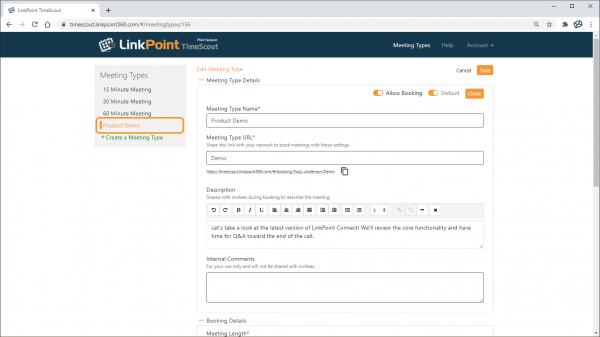
Tip: You can edit an existing Meeting Type at any time. Select the Meeting Type name from the list on the left side of the screen. Edit the fields as needed, and click Save to keep your changes.

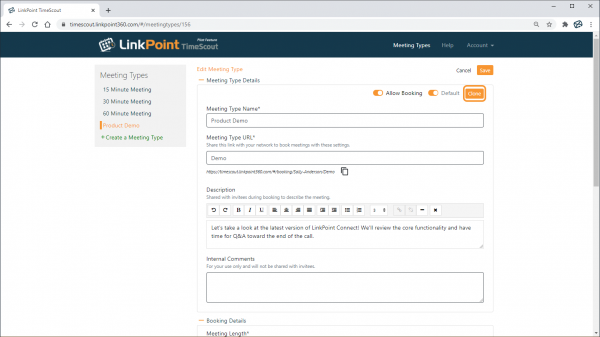
Tip: You can copy an existing Meeting Type as a template. View the Meeting Type, and click the Clone button. Edit the Meeting Type as needed, and click Save.

Download: Access the complete LinkPoint Connect User Guide in .pdf format. Get the User Guide

Still need help? Contact our Support Team


