LinkPoint Connect helps users remain in Outlook while creating new Salesforce records with minimal manual data entry. In this section, you will learn how to create a new Salesforce Case from Outlook.
Tip: Depending on how an organization has configured LinkPoint Connect to mirror your existing business processes, users may not have all of the options described in the following section. Contact your internal IT admin for more information.
Click the images throughout the Knowledge Base to see full size versions of screen captures.
Creating a New Case in Salesforce from Outlook
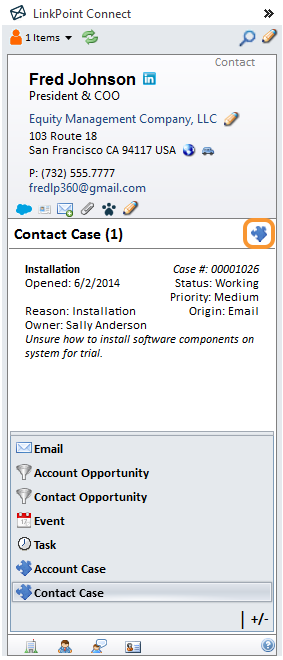
Select an email and note that the Side Panel displays the related Contact information. Select Account Case or Contact Case on the Navigation Pane to display the Related Information for the Contact.
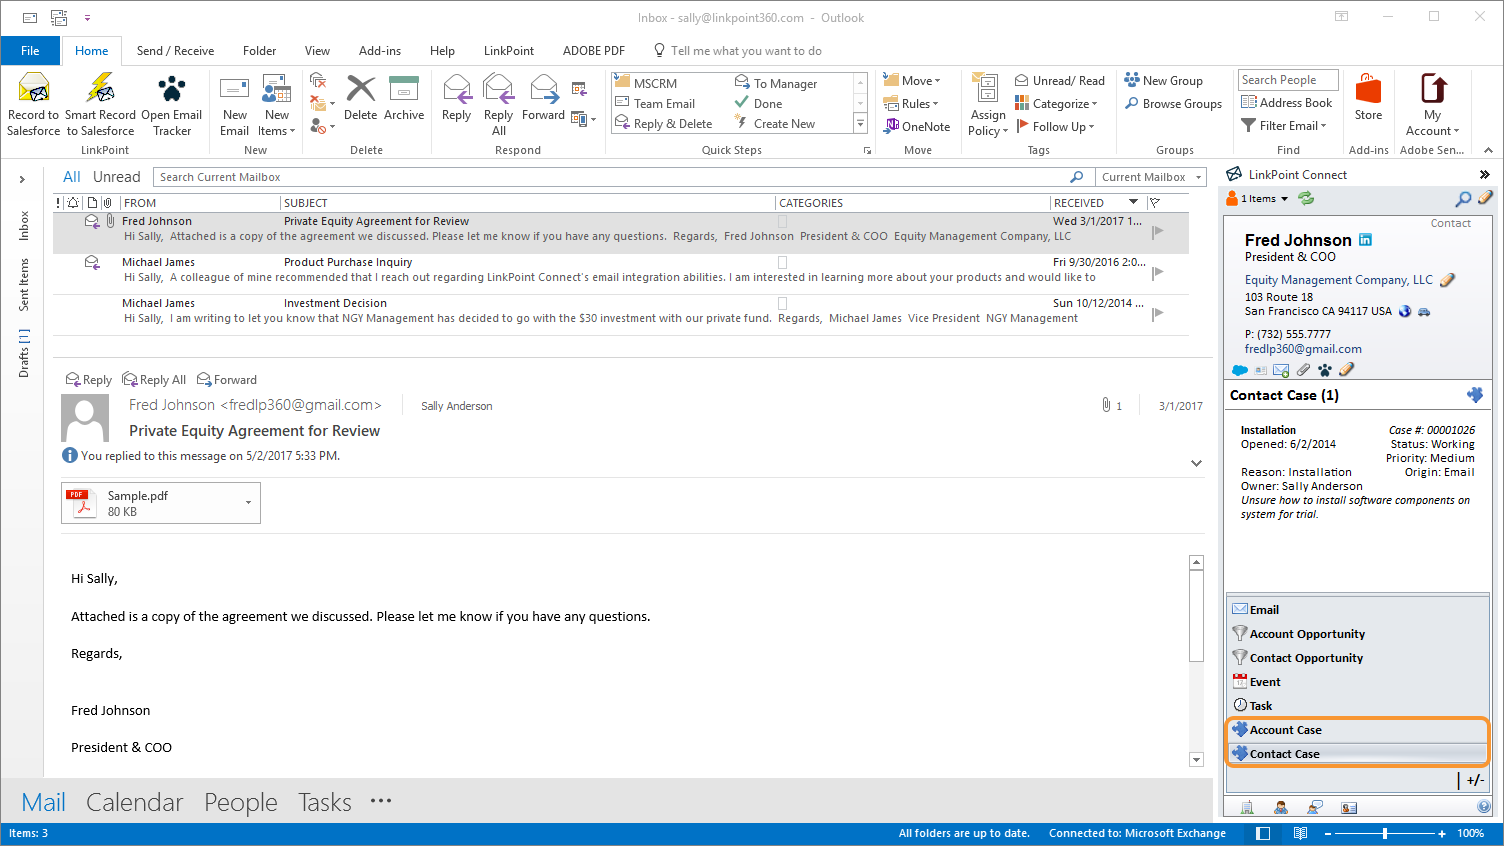
Tip: Organizations can request customization to modify the Case types and information displayed. In some instances, users may not have access to Case information or may not see details displayed for specific Case types such as Closed Cases. Please contact the LinkPoint360 Support Team for more information.
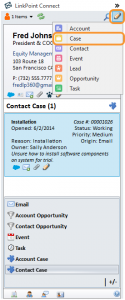
Click the Smart Form icon to create a new Case.
Tip: You can also click the Create a case from selected email icon to create a Case using the email.
Enter any required or additional information in the Case Smart Form. Note that the Account Name and Contact Name fields are prepopulated by LinkPoint Connect. Click Ok to create the record in Salesforce.
Tip: LinkPoint Connect will not override any business rules within your instance of Salesforce. If additional fields are required to create the Case, the user will need to enter the information in order to proceed.
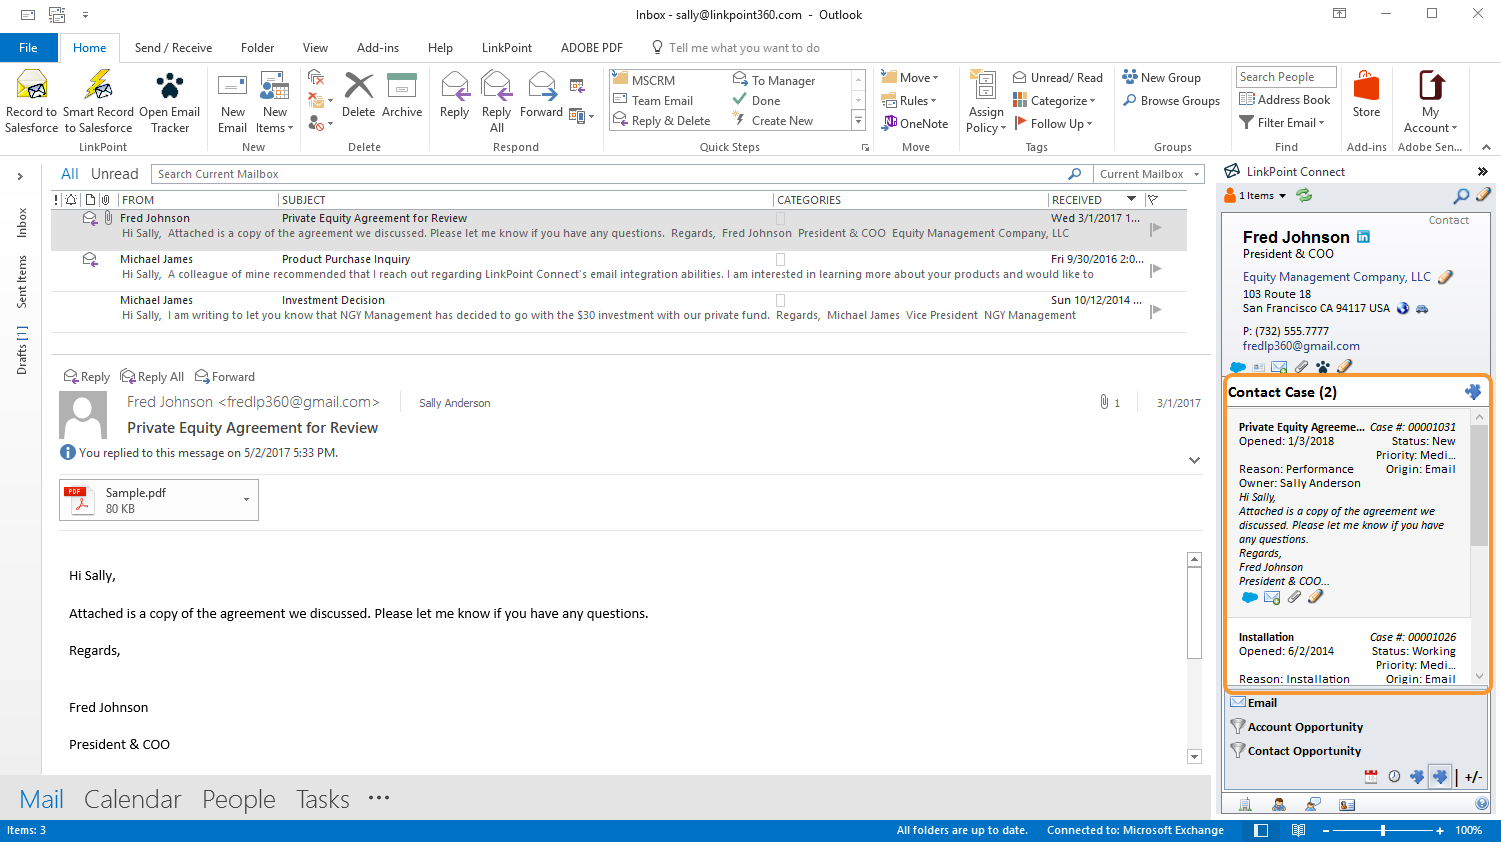
The newly created Case will be listed in the Related Information in the Side Panel.
Download: Access the complete LinkPoint Connect: Outlook + Salesforce User Guide in .pdf format. Get the User Guide
Still need help? Contact our Support Team.