In this section, you will learn how to enter your LinkPoint Connect License Key, which is necessary in order to be able to use the product.
Click the images throughout the Knowledge Base to see full size versions of screen captures.
Entering a License Key
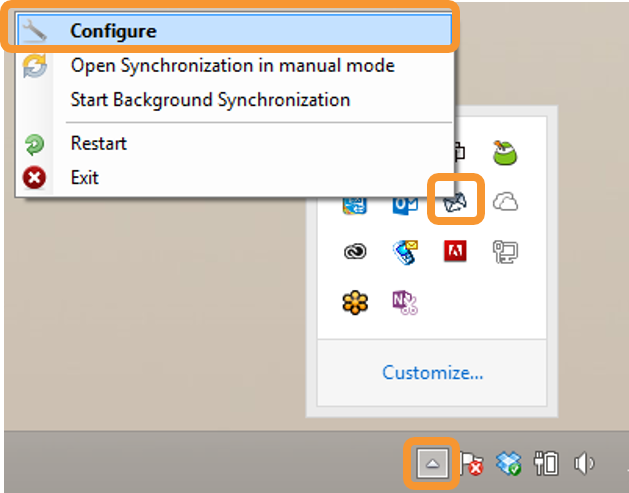
Launch the LinkPoint Assist window.
Tip: You may automatically arrive within LinkPoint Assist by checking the option to Configure LinkPoint when finishing the installer. You can also access these settings by right clicking the LinkPoint Assist icon in the system tray near your desktop clock and then selecting Configure.
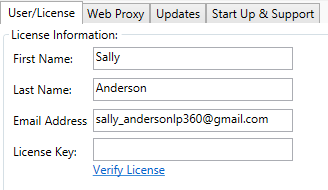
Enter the required information for the First Name, Last Name, and Email Address fields.
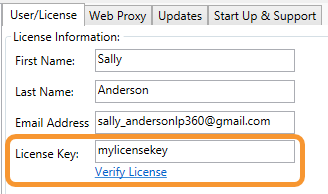
Enter the License Key provided in the welcome email, and click Verify License.
Tip: If you are installing LinkPoint Connect as part of the free trial, the License Key will be Evaluation. This field may be already be populated for you.
Warning: If you have purchased LinkPoint Connect after participating in the free trial, you will need to follow the steps to update your License Key from Evaluation to the License Key provided in your welcome email.
Tip: If you enter your unique license key but the field reverts back to an Evaluation license key, your firewall may be blocking access to the LinkPoint Connect server or there may be an issue with the proxy settings. Please contact your internal IT team for assistance.
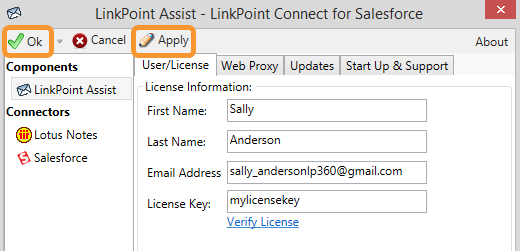
Click Apply and then click Ok to save the changes.
Download: Access the complete LinkPoint Connect: IBM Notes + Salesforce User Guide in .pdf format. Get the User Guide
Still need help? Contact our Support Team.