In this section, you will learn how to instruct individual users to enter their LinkPoint Connect License Key, which is necessary in order to be able to use the product. Once the software has been installed via Citrix or Terminal Services by the server admin, this process must be followed in order to activate the LinkPoint Connect software. The following steps should be followed by the individual end users on their machines.

Click the images throughout the Knowledge Base to see full size versions of screen captures.
Entering a License Key for Virtual Desktop Environment Installation


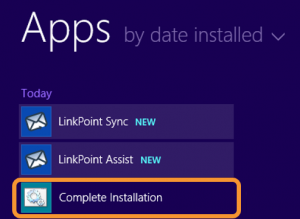
Navigate to the Windows Start Menu or Start Folder and locate the Complete Installation program. Click Complete Installation to finish the installation process on the end user machine and to launch LinkPoint Assist.


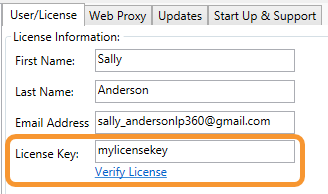
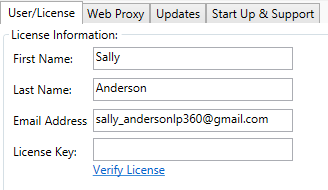
Enter the License Key, and click Verify License.


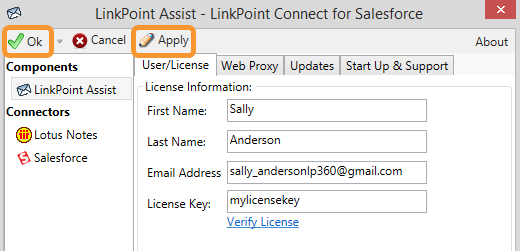
Click Apply and then click Ok to save the changes.
Download: Access the complete LinkPoint Connect Virtual Desktop Environment Installation Guide in .pdf format. Get the User Guide


